After you’ve finished creating the score of orchestra, you will start creating parts.
Composers may have their own preferences regarding the layout of the score, but it is generally important to create it in a way that is easy for the conductor and performers to see.
I always write rehearsal mark and tempo mark in the score in large letters.
In that case, of course, I change the font size of the marks that pre-installed in “Expression” tool,
but when I start working on creating the parts, the rehearsal marks and the tempo marks showed in the parts are remain large.
Therefore, I set up a “Score List”in “Expression” tool, and place marks twice.
As an example, I will write how to set a the rehearsal marks.
First, open the “Expression Selection” window, and open the “Edit Categories”.
Select “Rehearsal Marks”, and click “Edit” under “Score List”.
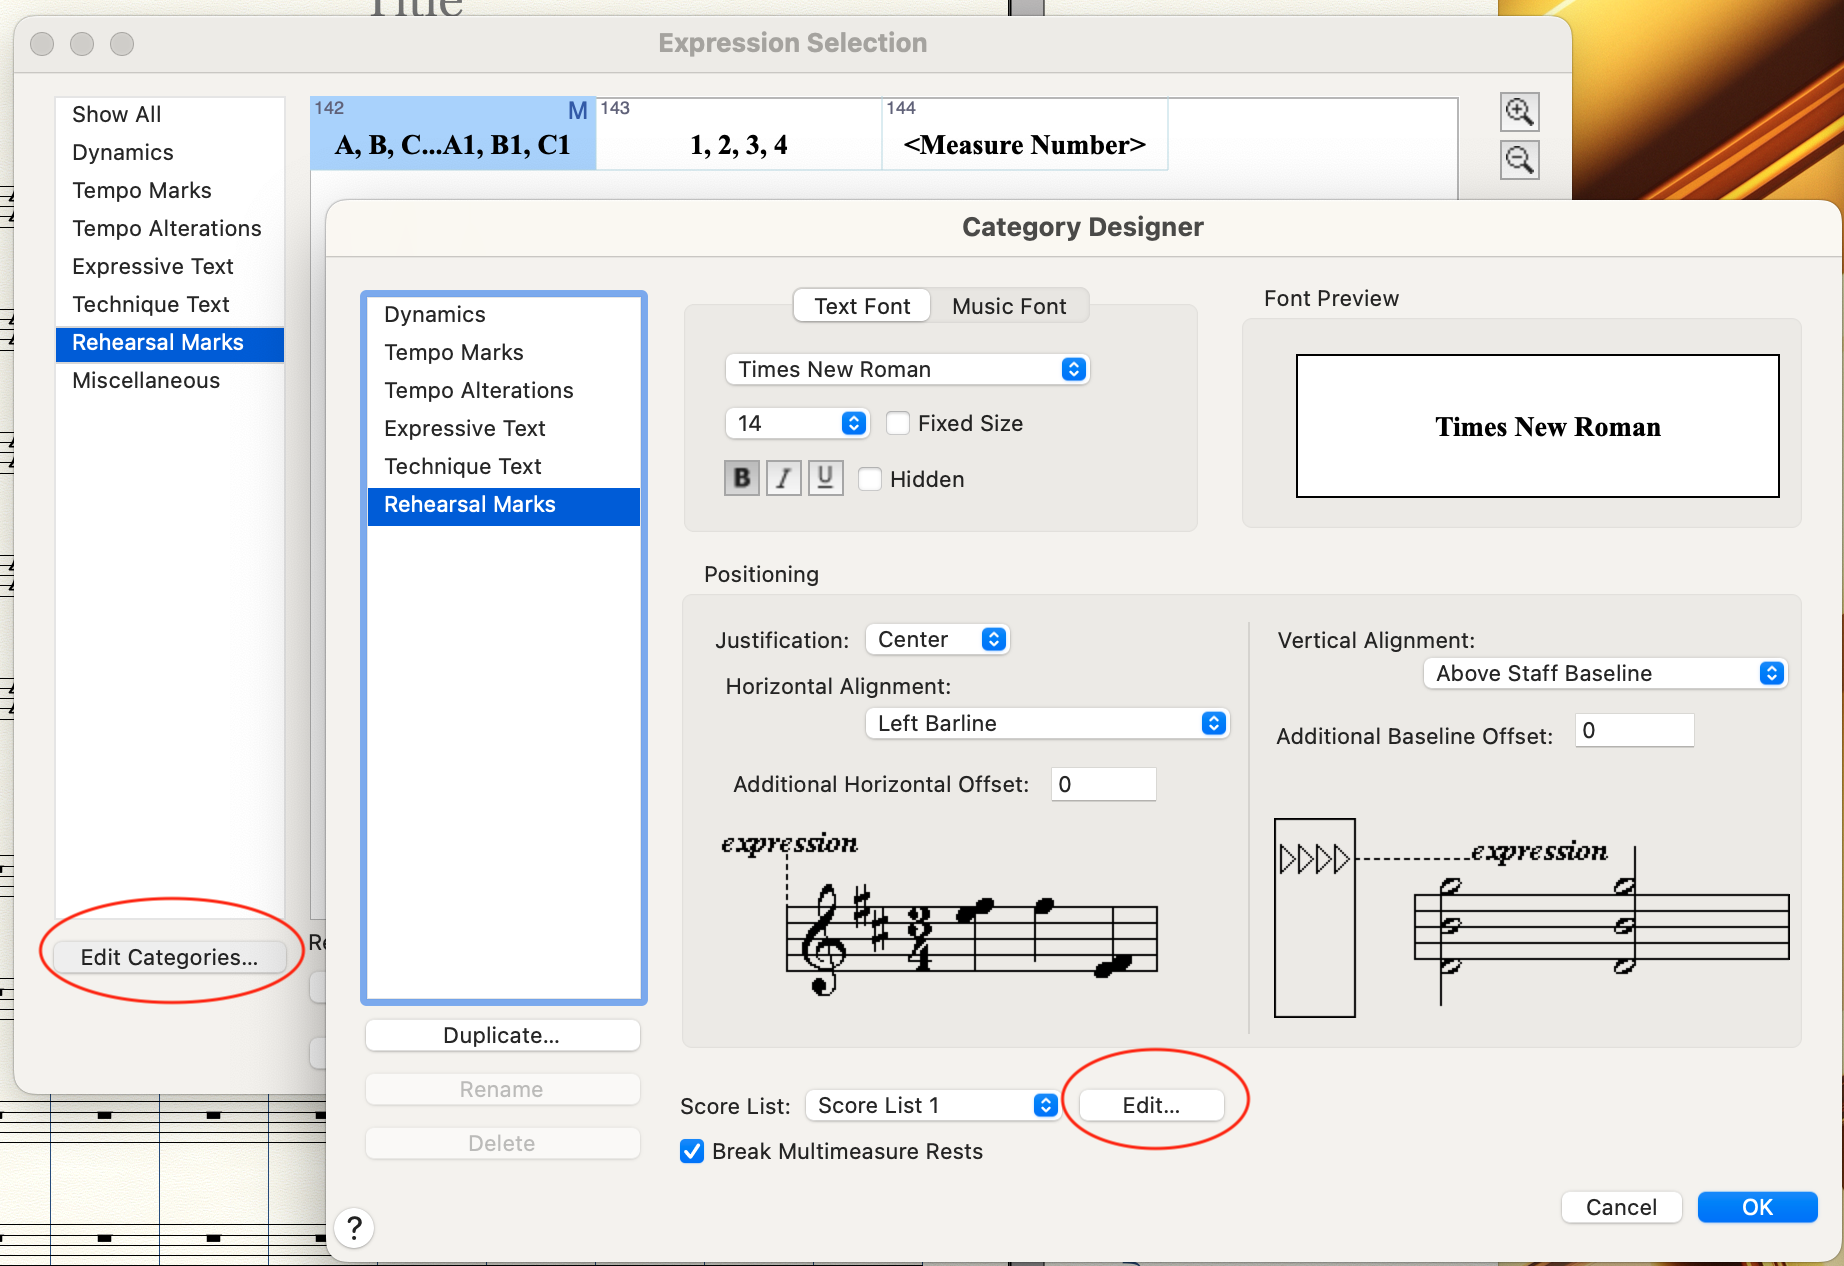
This will display a window that you can set the display range of the rehearsal mark.
The default setting is labeled “Score List 1” and is set to appear in the score and all parts.
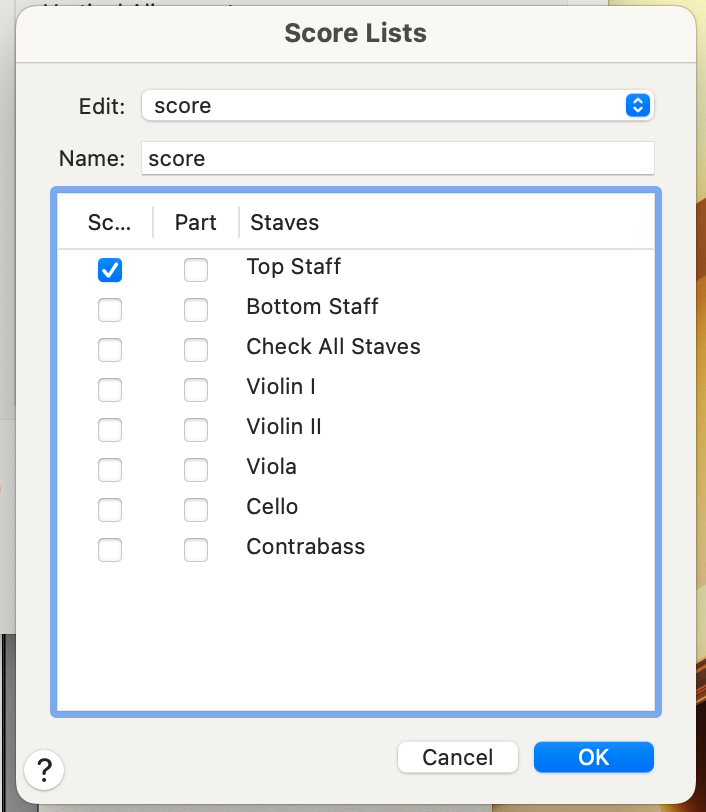
Next, check the only box “Top Staff” under “score”, because you need to set the rehearsal marks for the score (if this is an orchestral score, also check Violin 1st).
Edit the set name to make it easier to understand.
Return to the previous window, change the font size.
If you edit the font here, the changes will apply to all marks in the category.
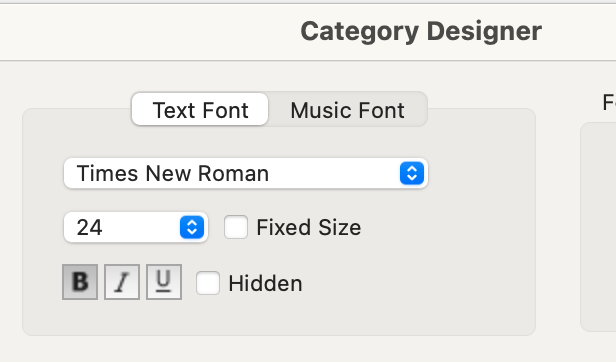
If you don’t want to do that, you can edit them individually from the “Expression Designer”.
Now you have rehearsal marks that are larger and easier to see than the default.
Let’s move on to creating rehearsal marks for the parts.
Select any category and click “Duplicate” on the “Category Designer” Window.
This will create a category.
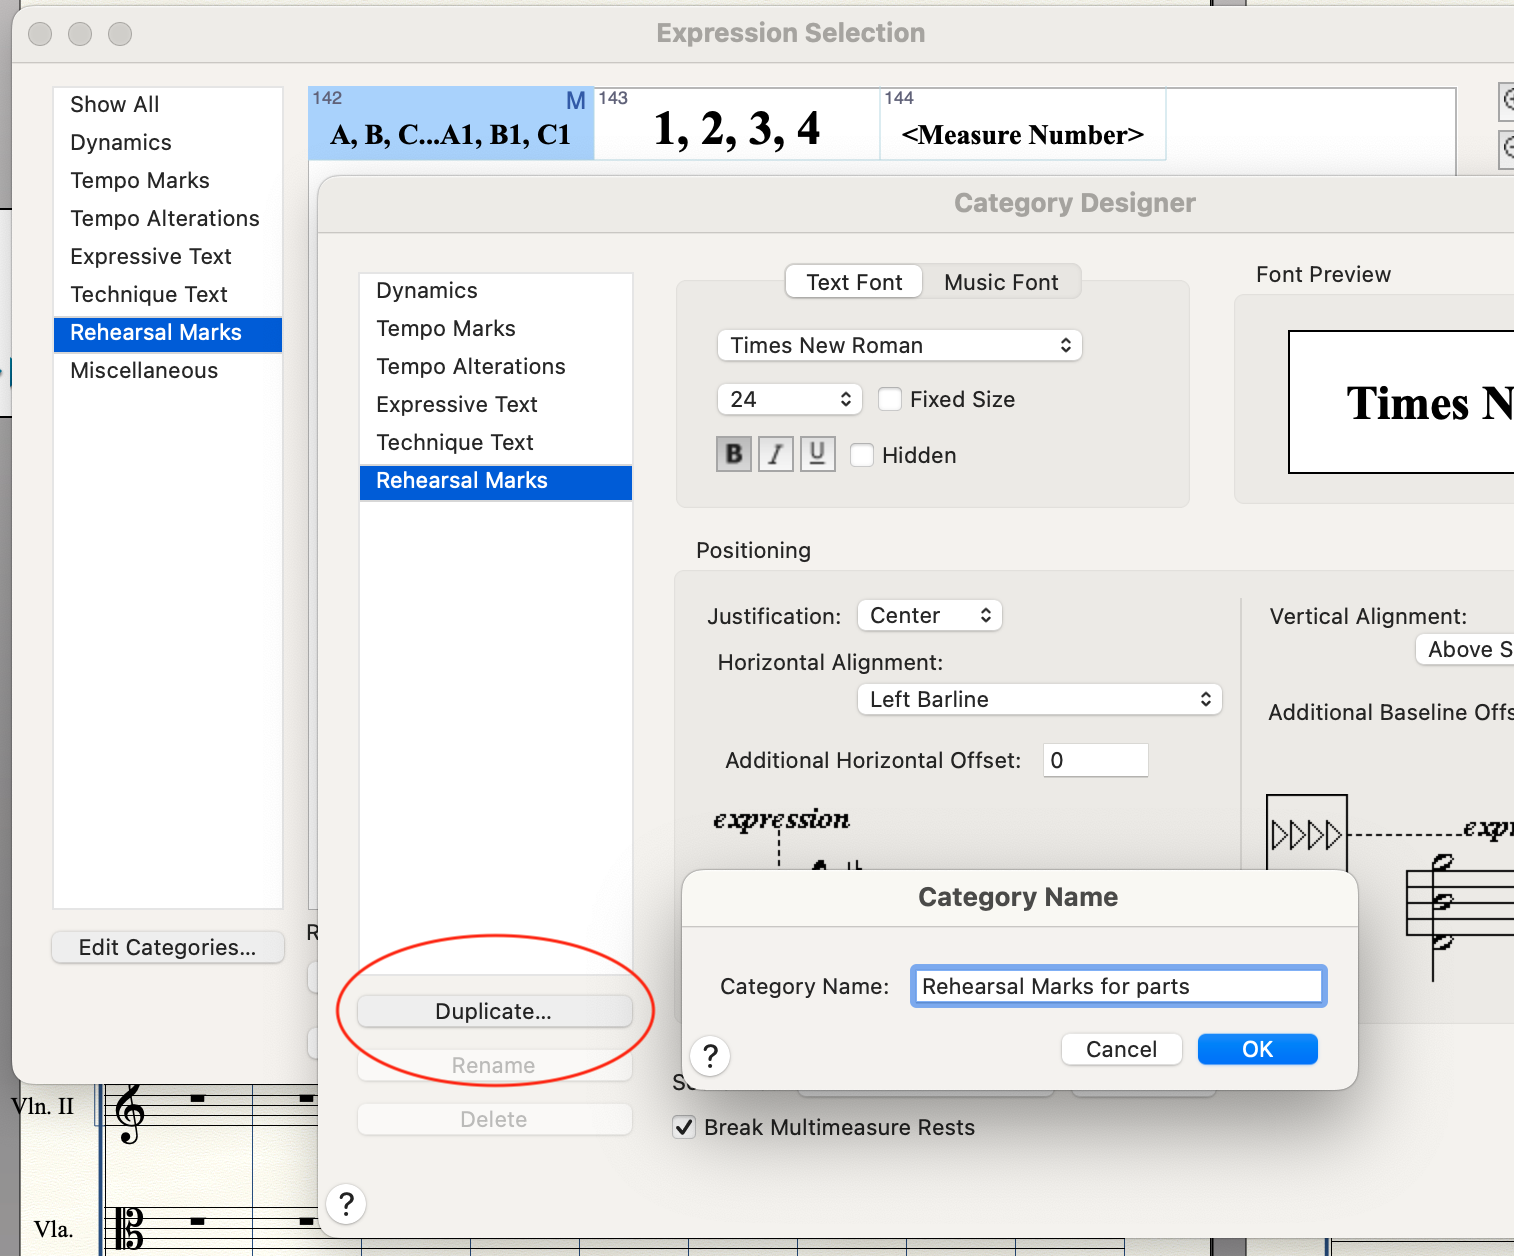
At this stage, create a display set for parts in “Score List”.
Uncheck “score” and check “Check All Staves” under “Part”, this will automatically check all instruments.
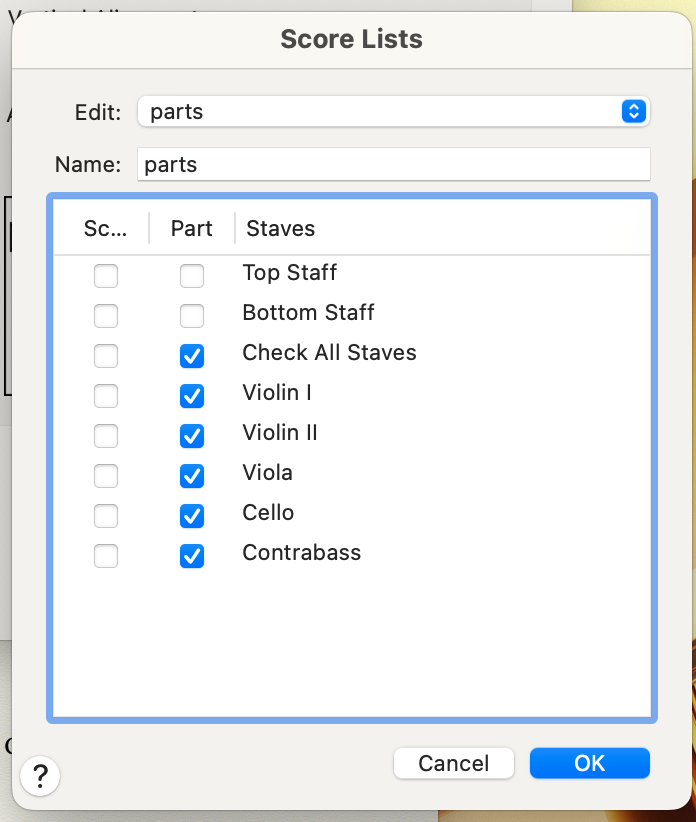
Close this window, and start creating marks.
You could duplicate a default rehearsal mark and it in this category,
but this time I’ll show you how to create a rehearsal mark from scratch.
Click “Create (Category name)”, and open the edit window.
You can create rehearsal mark simply by checking “Use Auto-Sequencing Style”.
If you want to add a custom enclosure shape, select it from “Enclosure Shape”.
You can also change the size from “Edit”.
And, if you don’t want measure numbers to be displayed where there are rehearsal mark,
just check “Hide Measure Numbers”.
If you want to change the font size, select the text and choose the size from “Text” in the menu bar.
(this is the same for editing other marks)
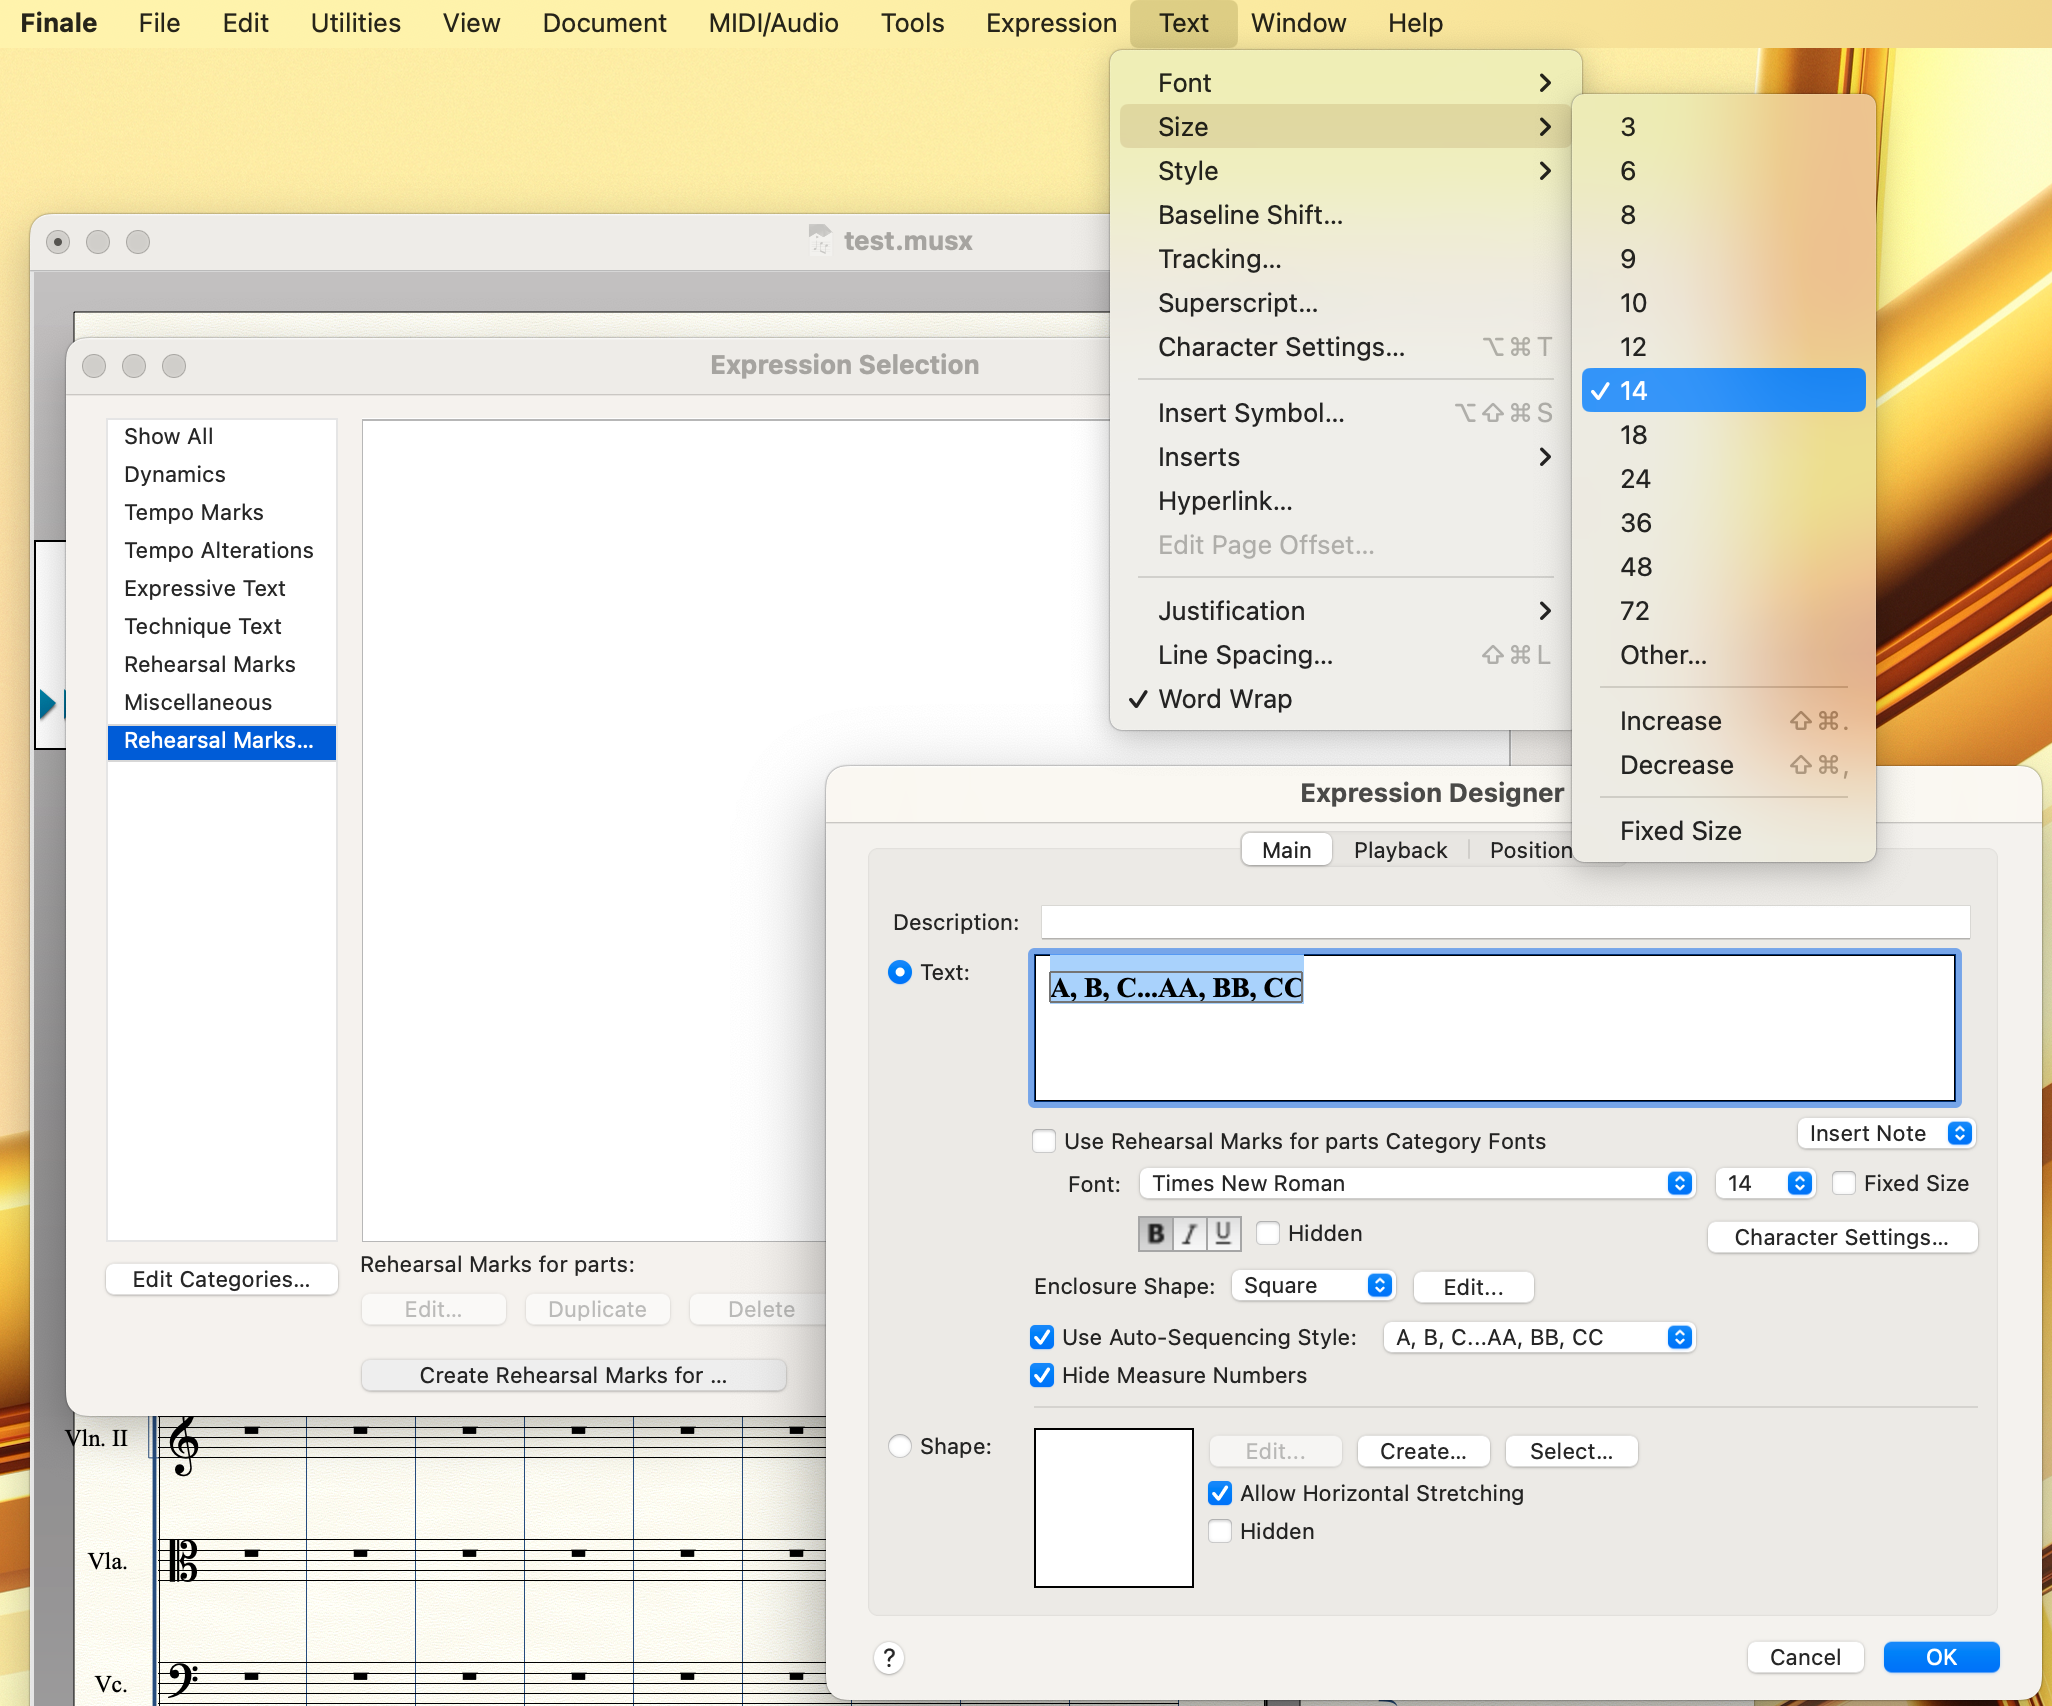
When you try to place these rehearsal marks for parts on the score, they don’t appear.
But when you switch to the part, the small rehearsal marks appear properly,
and the large rehearsal marks don’t appear.
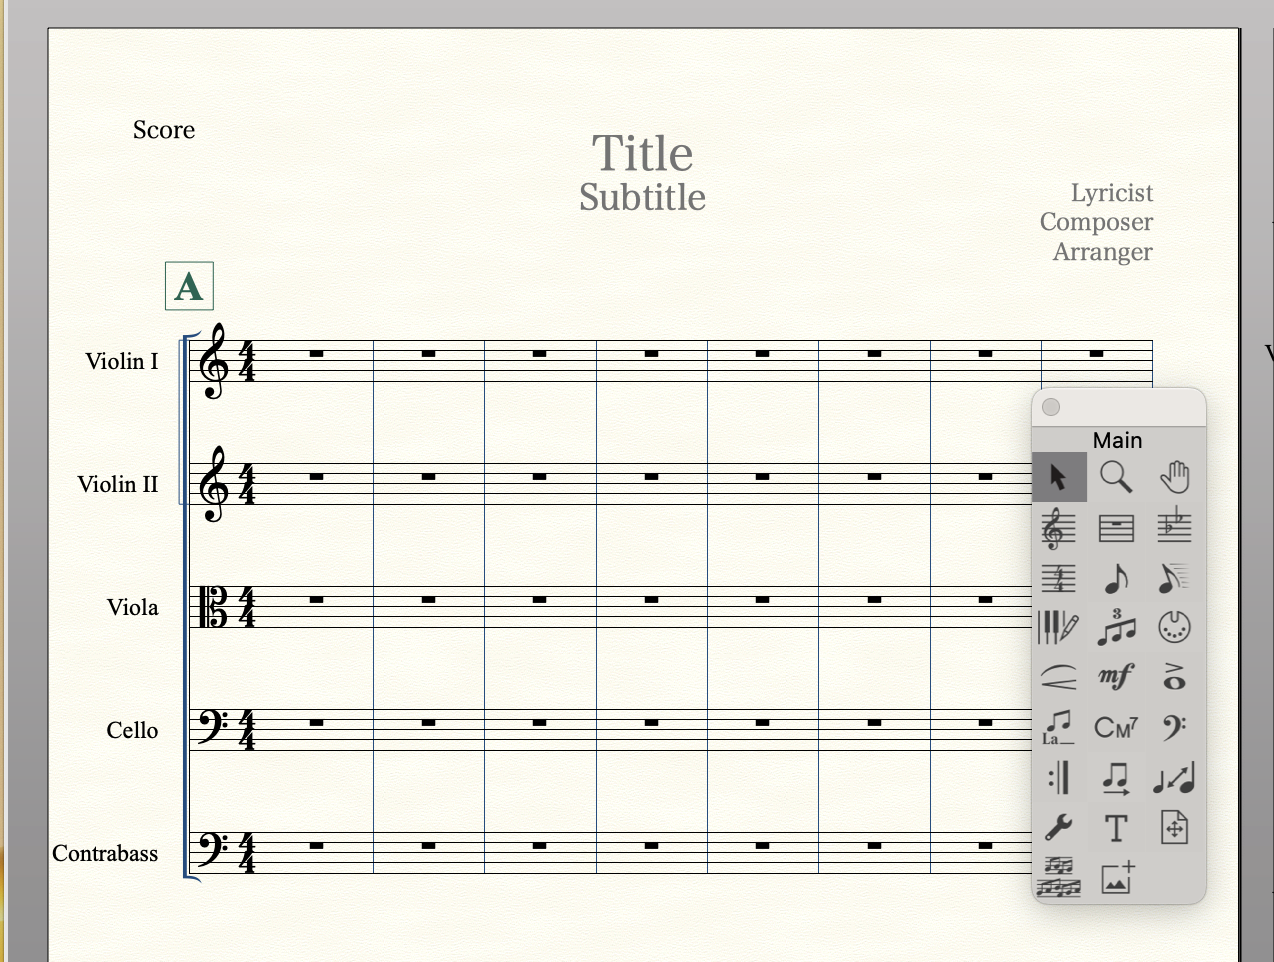
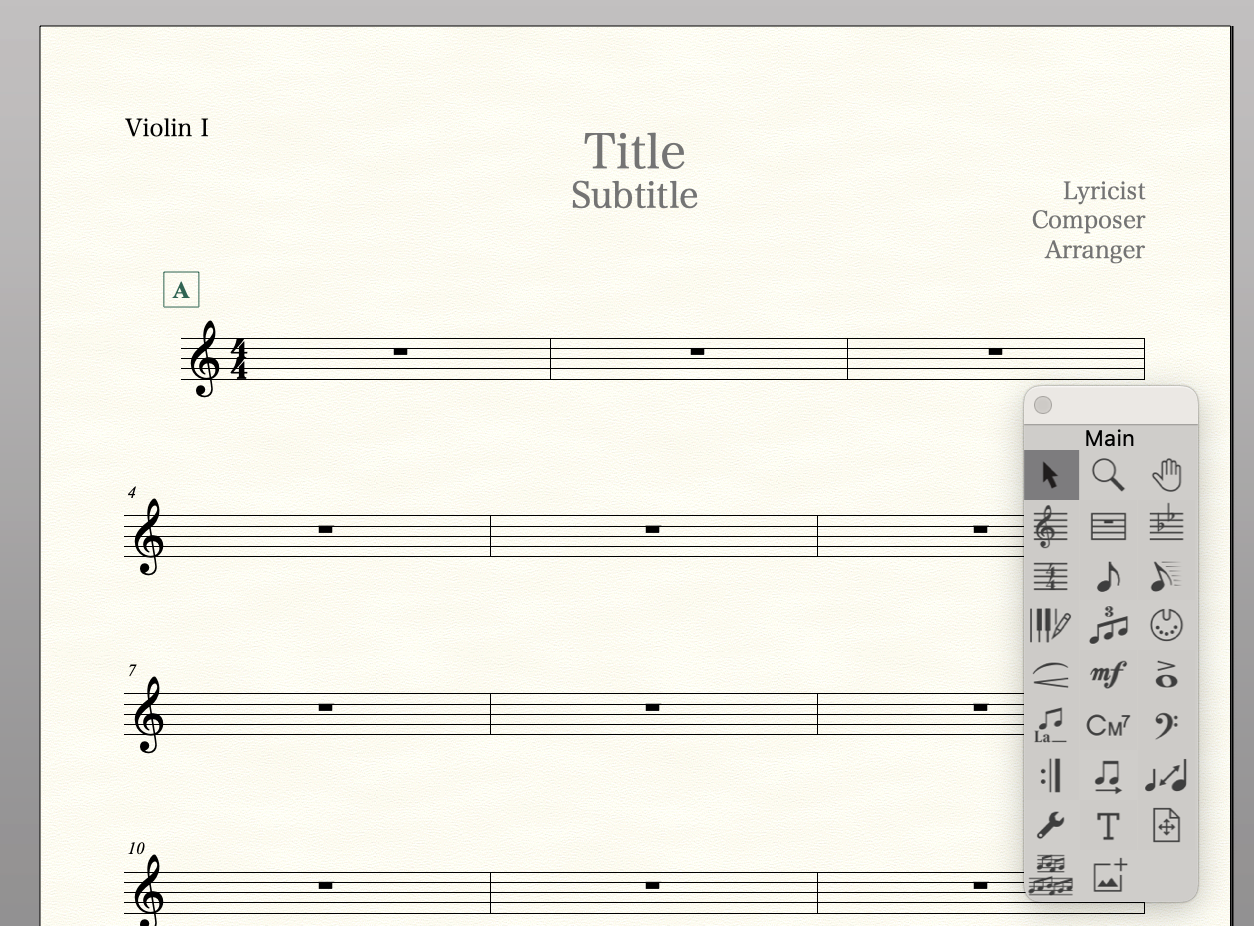
It’s a bit of a hassle, but if your piece uses a lot of marks, this setting will definitely come in handy.
By the way, you will probably want to save your new category.
“File” > “Save Library” > Check “Text Expressions” > save library file.
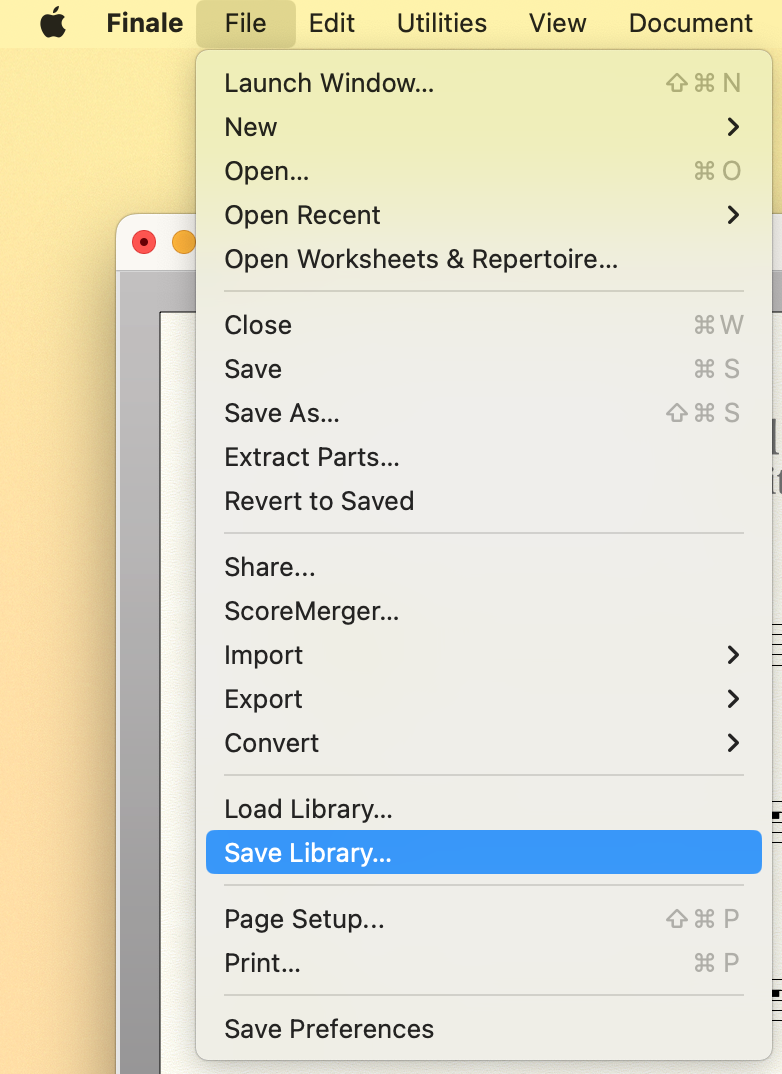
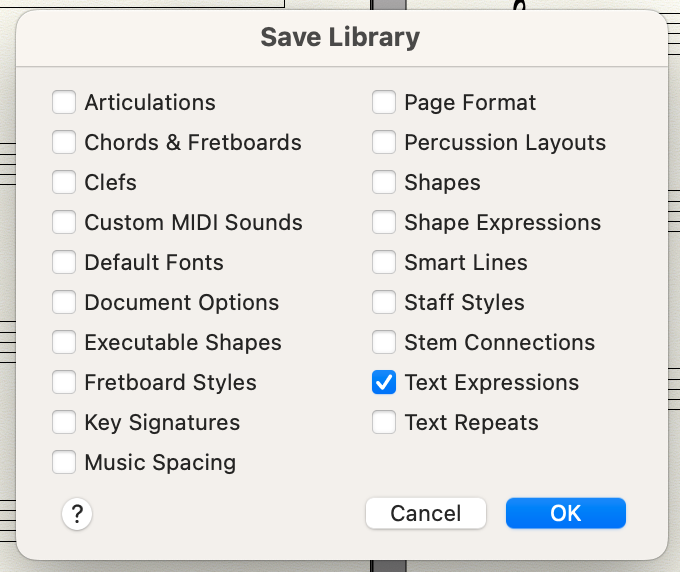
The next time you create a new project, you will have this category available.
When you want to use this library file, open the library file you saved last time using this procedure:
“File” > “Load Library”
However, “Score List” settings have reverted to the defaults, so you need to edit them again.
It would be nice if it were easier to distinguish between symbols for score and symbols for parts,
but it doesn’t seem to work that way.
By the way, you can check the location of the library file in the following way:
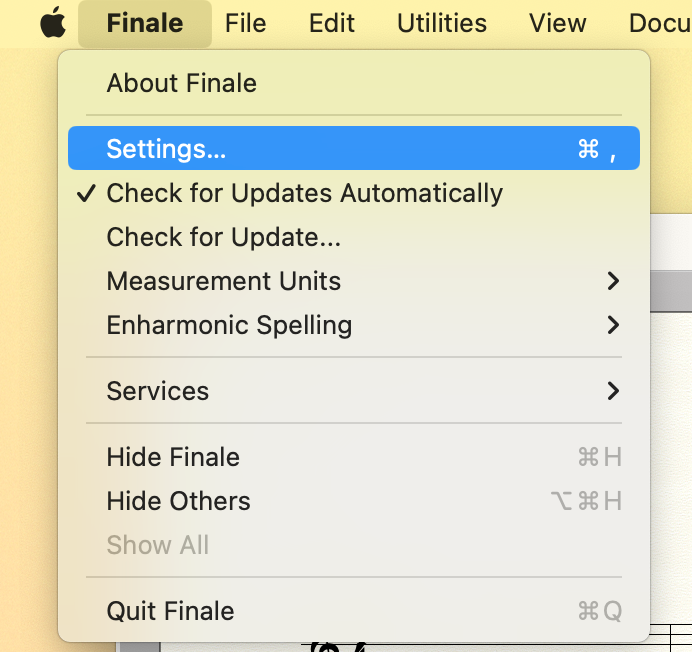
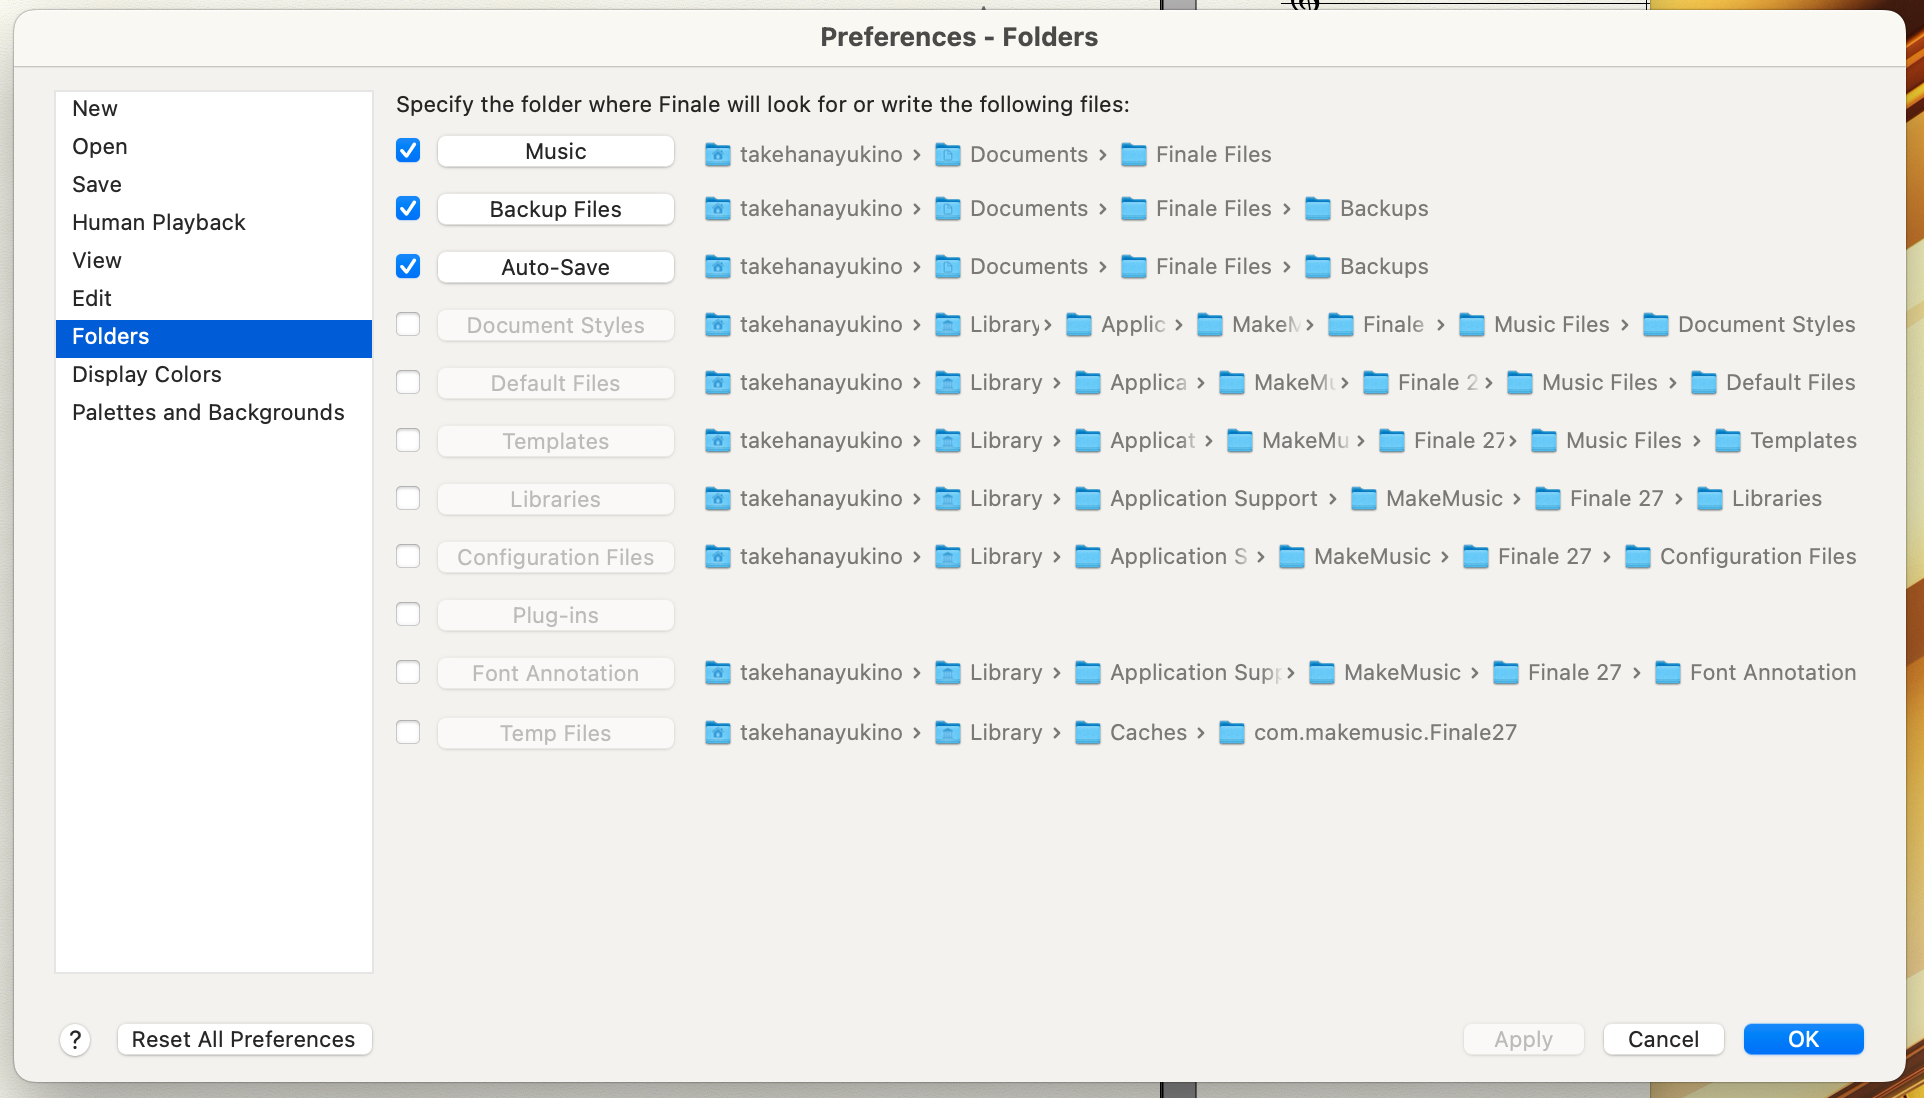
“Finale” > “Setting” > “Folder”
